From Wellbeing Magazine · Editorial Team · · 3m
Your first diagnostic imaging appointment
A step-by-step guide to what happens before, during, and after your imaging exam.
In brief
A step-by-step guide to what happens before, during, and after your imaging exam. Knowing what to expect at each stage of a diagnostic imaging appointment helps you prepare, reduces anxiety, and ensures the technologist can capture the images your doctor needs. Originally reported by Wellbeing Magazine.
Getting your imaging appointment
Your healthcare provider gives you a requisition for the specific imaging test needed. Contact the imaging clinic to schedule, confirm the date and time, and ask what documents to bring like your health card and previous imaging records.
Preparation depends on your exam type
X-rays need minimal prep, but ultrasounds may require fasting or a full bladder. Bone Mineral Density scans have specific clothing and supplement guidelines. Always follow your clinic's exact instructions for your particular exam.
What to wear and bring
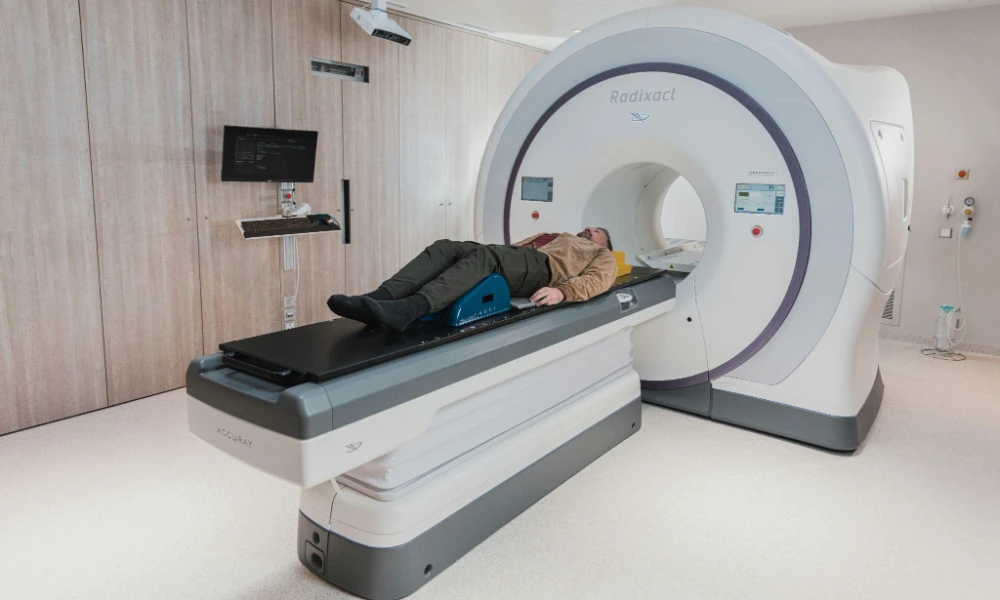
Wear comfortable clothing unless told otherwise. Remove jewelry, belts, and metal fasteners before your exam, as metal can interfere with images. You may be given a gown to change into depending on the type of imaging.
Tell the team about your health
Before your exam, mention anything relevant to your imaging, including possible pregnancy, recent imaging procedures, or mobility issues. Health Canada advises anyone who is or may be pregnant to tell their doctor before an X-ray.
During an X-ray exam
You'll stand, sit, or lie down while the technologist positions the body part being examined. You'll need to stay still and may be asked to hold your breath briefly while images are taken.
During an ultrasound exam
You'll lie on an examination table while a trained professional applies gel to your skin and moves a handheld transducer over the area. Some specialized ultrasound exams use different approaches, which should be explained beforehand.
During a bone density scan
You'll lie on a padded table while equipment measures bone density, usually around the hip and spine. Staying still helps the technologist capture accurate measurements.
The technologist won't diagnose
If you're asked to shift position or get additional views, it's just part of the imaging process and doesn't mean something concerning was found. A qualified physician reviews and interprets the images later.
“The technologist will not provide a diagnosis during the appointment.”
After your exam is complete
Most routine imaging doesn't require recovery time. Your images become part of your medical record and are reviewed by your referring healthcare provider. Some clinics offer online access to your imaging records for easy sharing with other providers.
Understanding your results
Your healthcare provider explains the results in context of your symptoms and medical history. Next steps may include treatment, monitoring, additional testing, or a specialist referral. Always follow up if you're unsure when results will be discussed.
Prepare to feel confident
Review the clinic's instructions, bring requested documents, and arrive early. Write down questions in advance. Speak with your clinic or healthcare provider if anything is unclear rather than guessing.
The short version
Knowing what to expect at each stage of a diagnostic imaging appointment helps you prepare, reduces anxiety, and ensures the technologist can capture the images your doctor needs.